Publish to Cloudflare Pages
Configure your account, publish your first website, and update it.
Video tutorial
A 48-second captioned slideshow made from real publishing test screenshots captured on November 11, 2026, rather than a continuous screen recording. Account setup is explained in text; dashboard screenshots are not included. Project names and URLs are redacted. The assets contain no account ID, account name or token. The video has Chinese text; choose English captions or follow the steps below.
Download MP4Follow the steps
- Prepare the websiteUse a folder containing index.html and its CSS, JavaScript and images. A zip archive or a project with dist/index.html also works.
- Configure CloudflareSign in to Cloudflare and copy the Account ID for the account you will use. Create a custom API Token with Account → Cloudflare Pages → Edit and limit it to that account.
- Save credentialsEnter the Account ID and API Token in the app, save to Keychain, then verify and list projects. No real credentials appear in this tutorial.
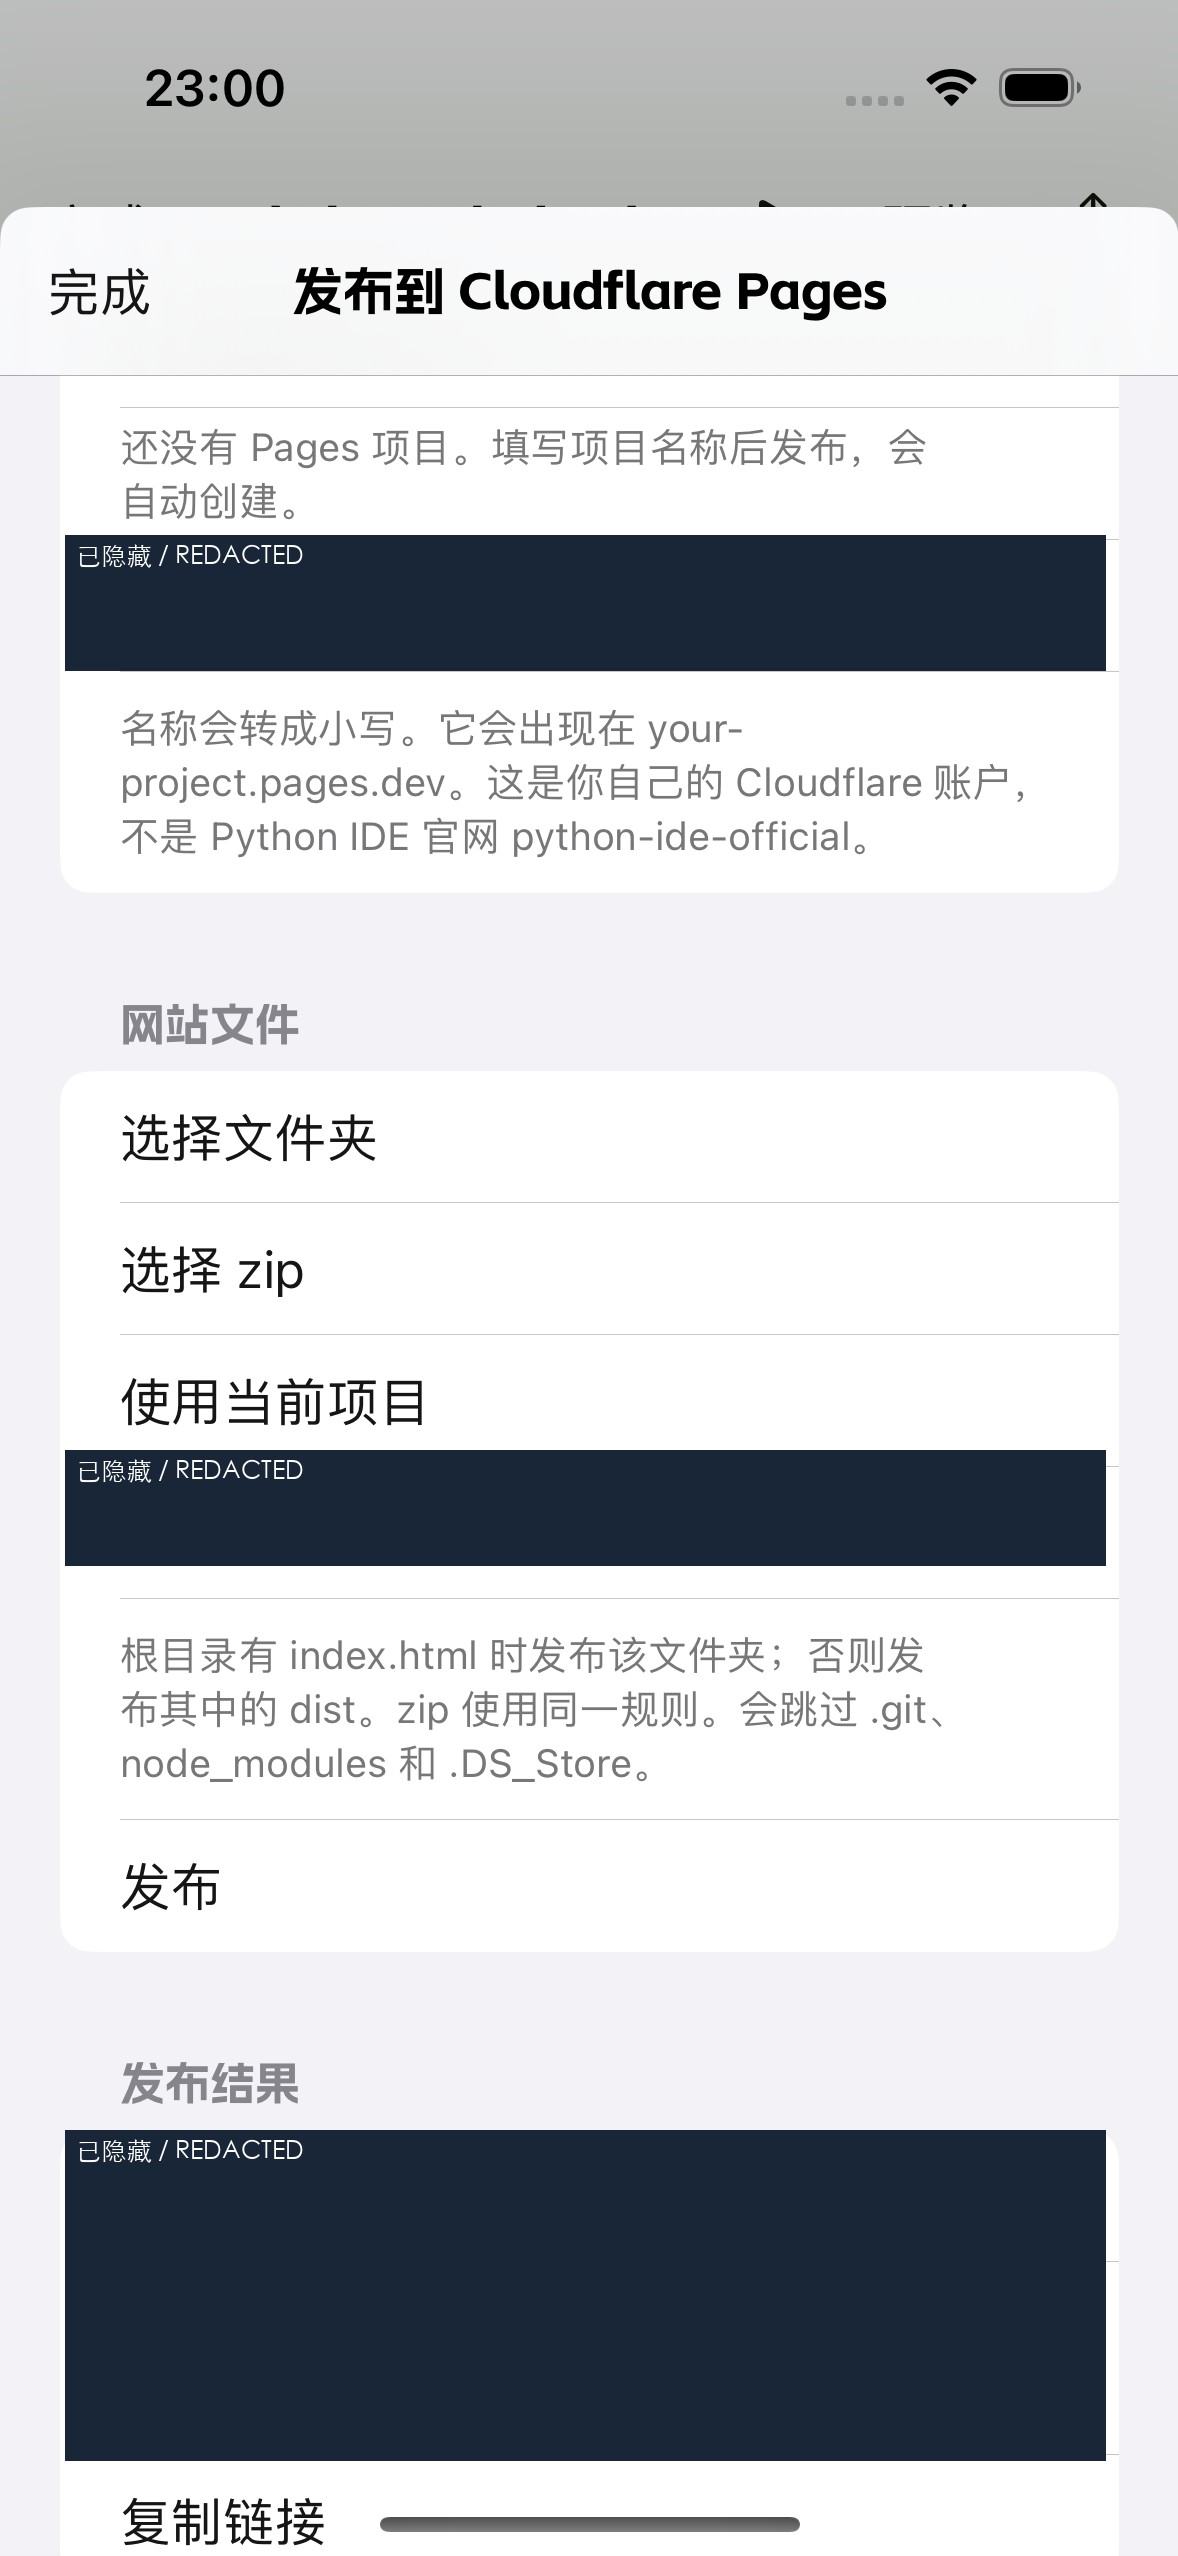
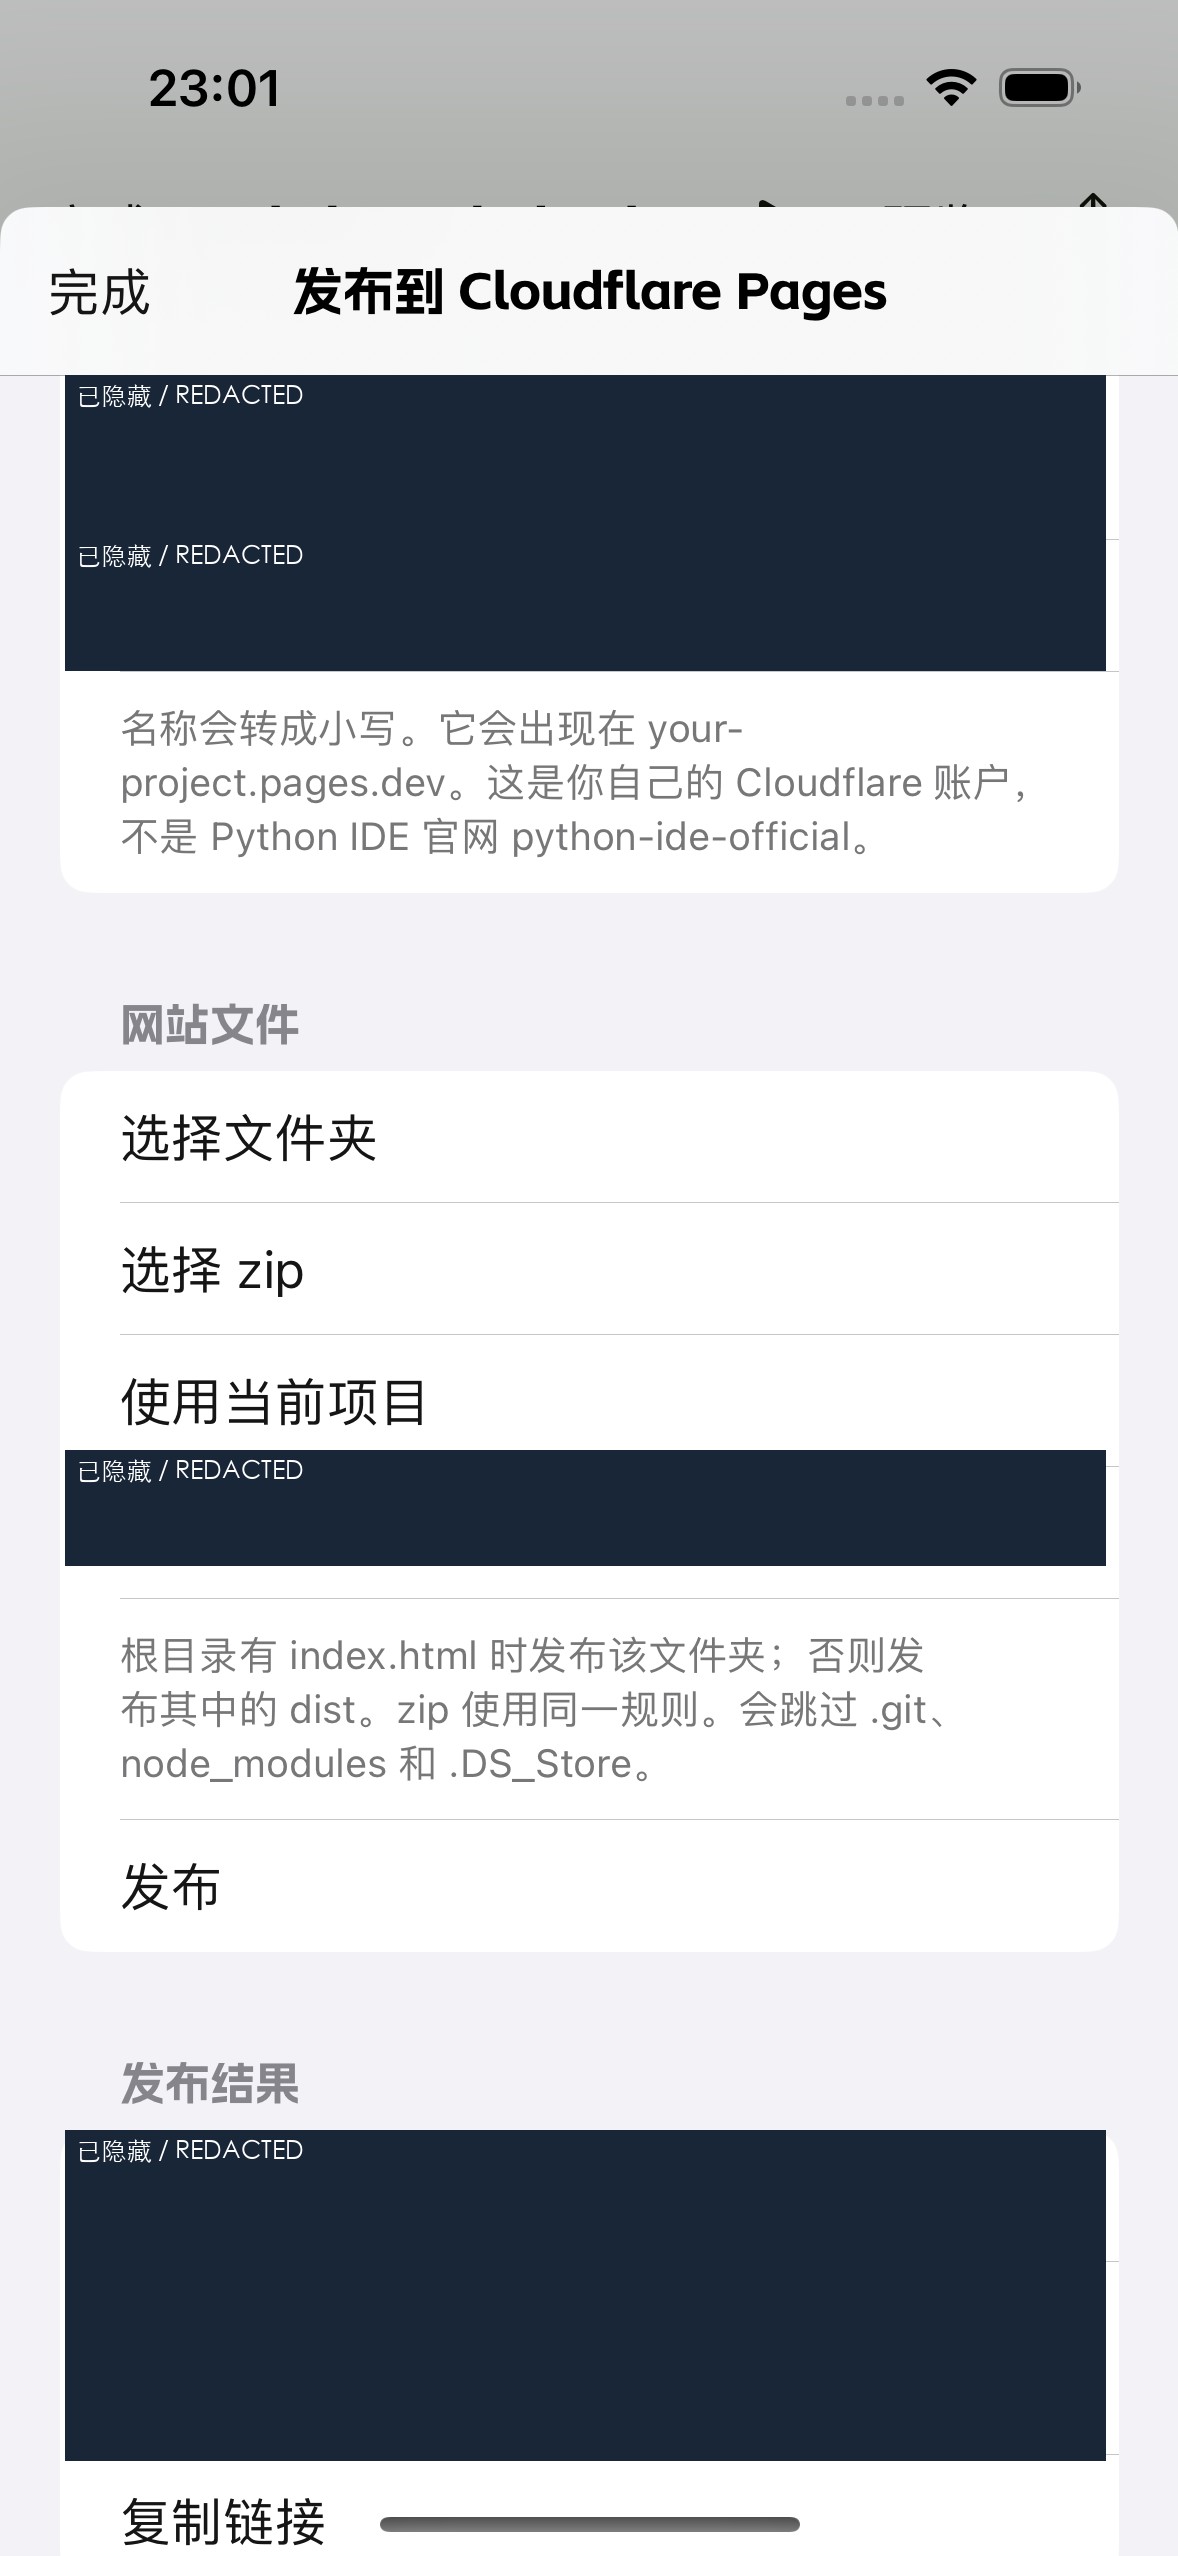
- Publish for the first timeChoose Publish to Cloudflare Pages from the webpage editor’s run menu to select the webpage folder automatically. Alternatively, open publishing from Settings and choose a folder or zip. Enter a project name using lowercase letters, digits and hyphens, then publish.
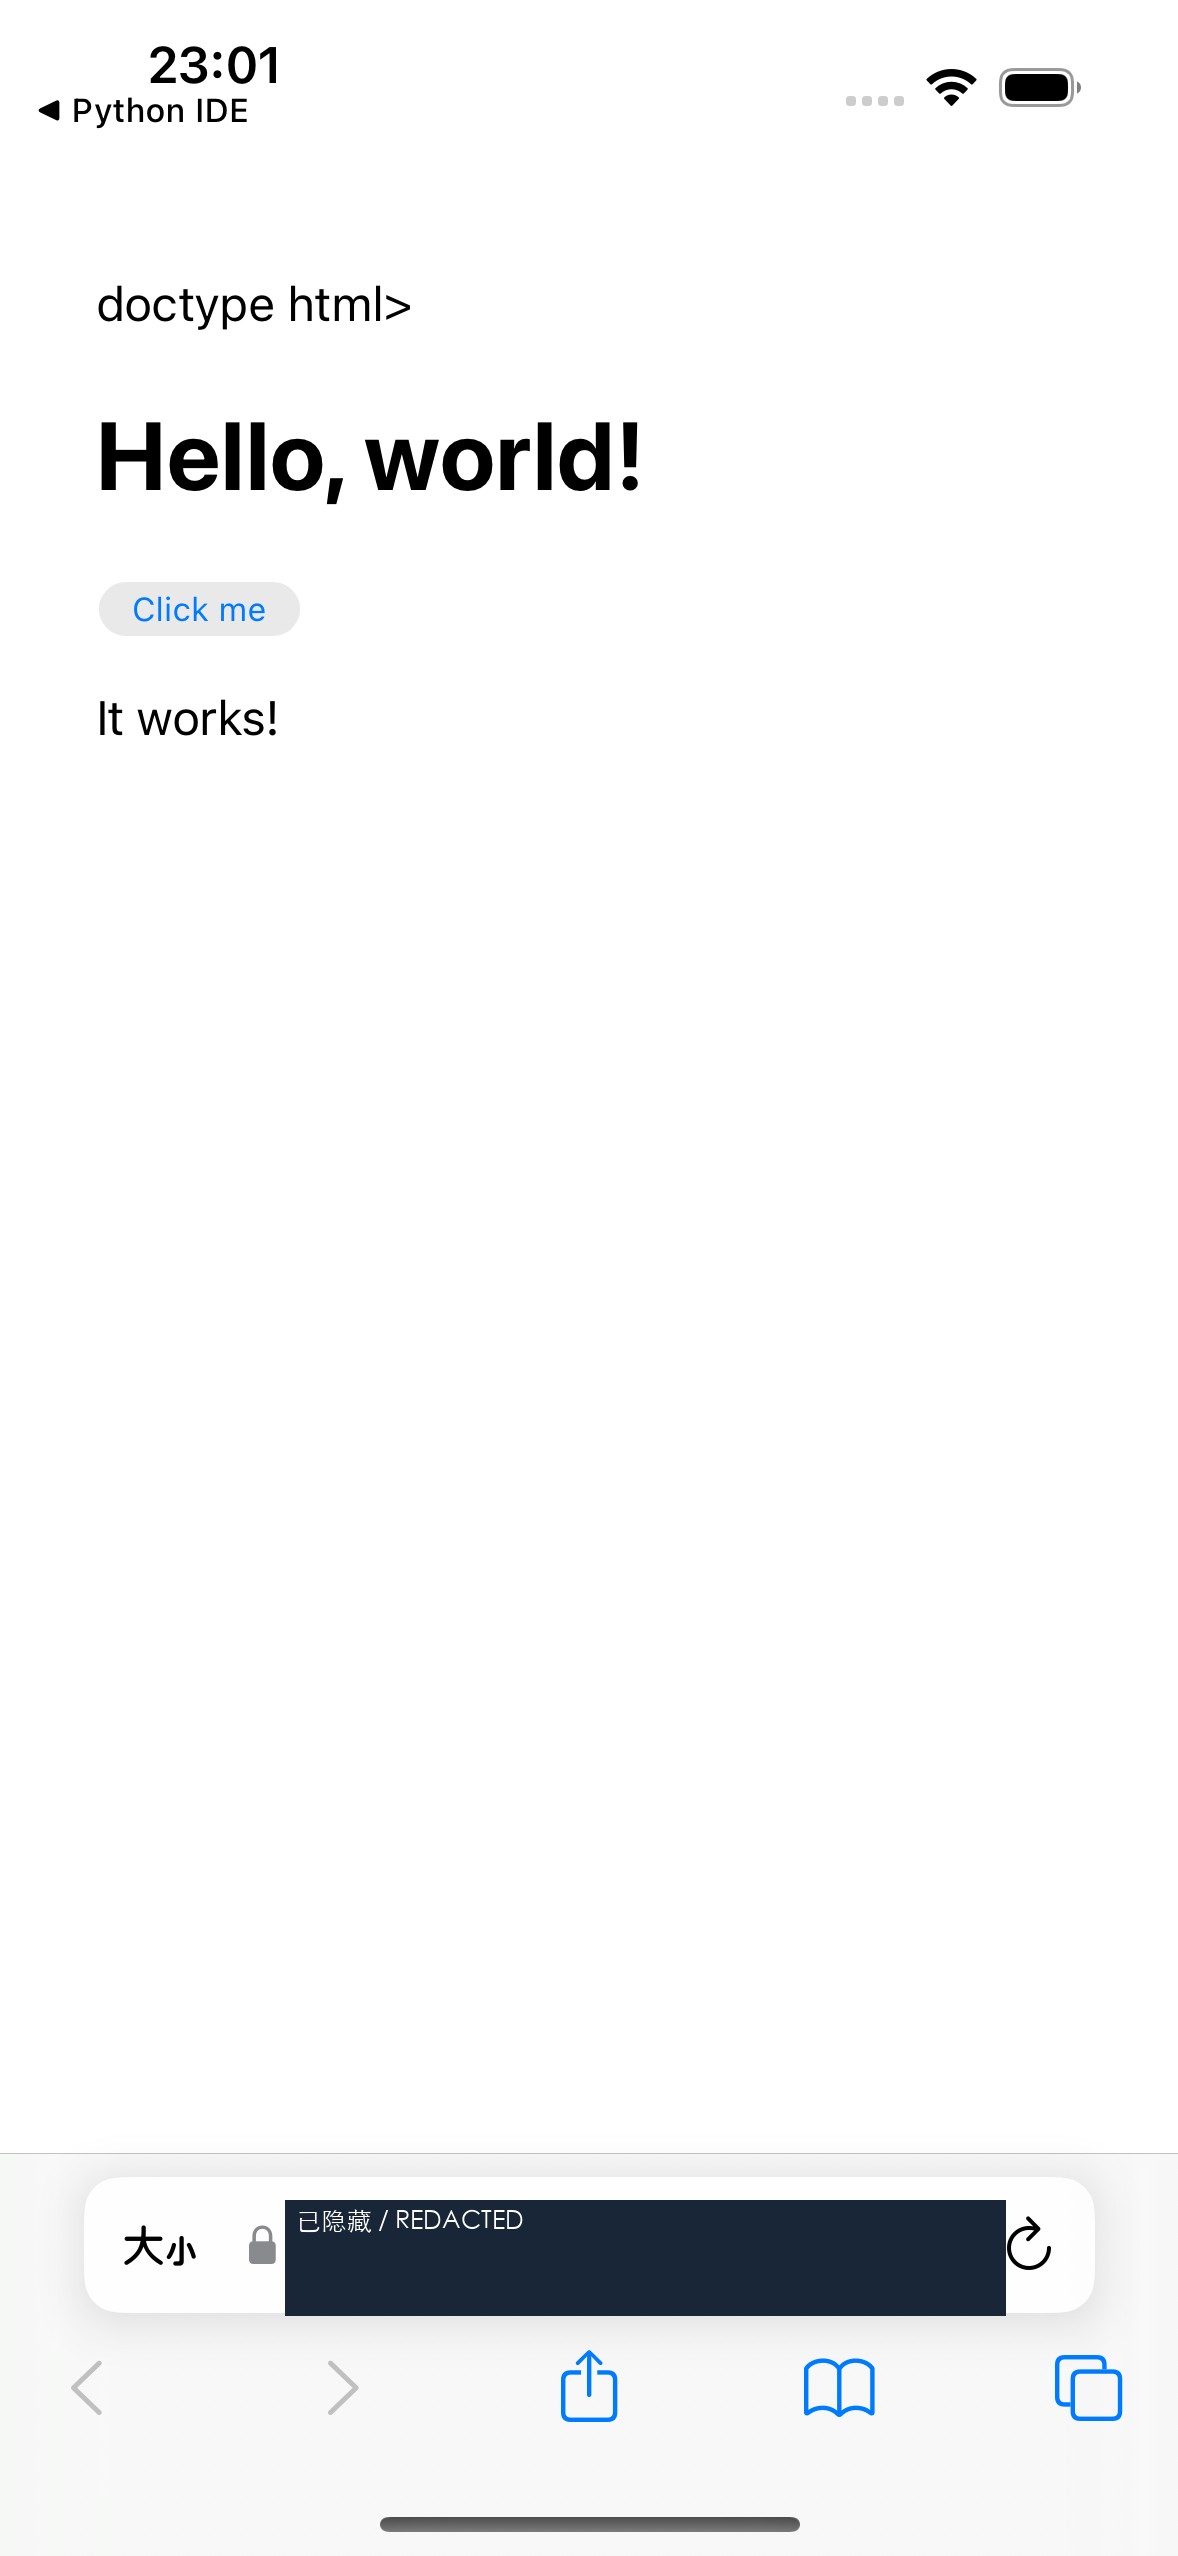
- Open and checkWait for the result, open the returned HTTPS link and check the page, images and JavaScript interactions. This publishes static websites; it does not run Python or Node.js servers in the cloud.
- Update the websiteEdit and save the webpage. Open publishing again, verify and select the existing Pages project, then publish. Reusing the project updates the same website address.
Real publishing screenshots (redacted)